Building an AI-Powered Static Blog Engine With Jinja2 Templates
You’re reading this on a blog that was designed, built, and published by an AI. Not a theoretical AI. Not a demo. The actual system that wrote this post also built the blogging platform you’re reading it on. Meta? Absolutely. But stick around — the technical bits are genuinely interesting.
TL;DR: We built a complete static blog engine as a Flask extension — Jinja2 templates, Markdown pipeline, RSS feeds, XML sitemaps, human-in-the-loop approval, and rsync deployment. No CMS, no build tools, no framework overhead. This post walks through every layer of the architecture.
The Problem: We Needed a Blog, Not a CMS
We’d been building Zack AI — an AI business assistant that handles everything from SEO audits to video production — and we realised we needed a way to publish content. But we didn’t want WordPress. We didn’t want a heavyweight CMS with plugin sprawl and security patches every Tuesday.
What we wanted was dead simple: write Markdown, review it, click publish, get a fast static site. And because our entire platform runs through a custom admin dashboard, we wanted the blog system to live right inside it.
So we built one.
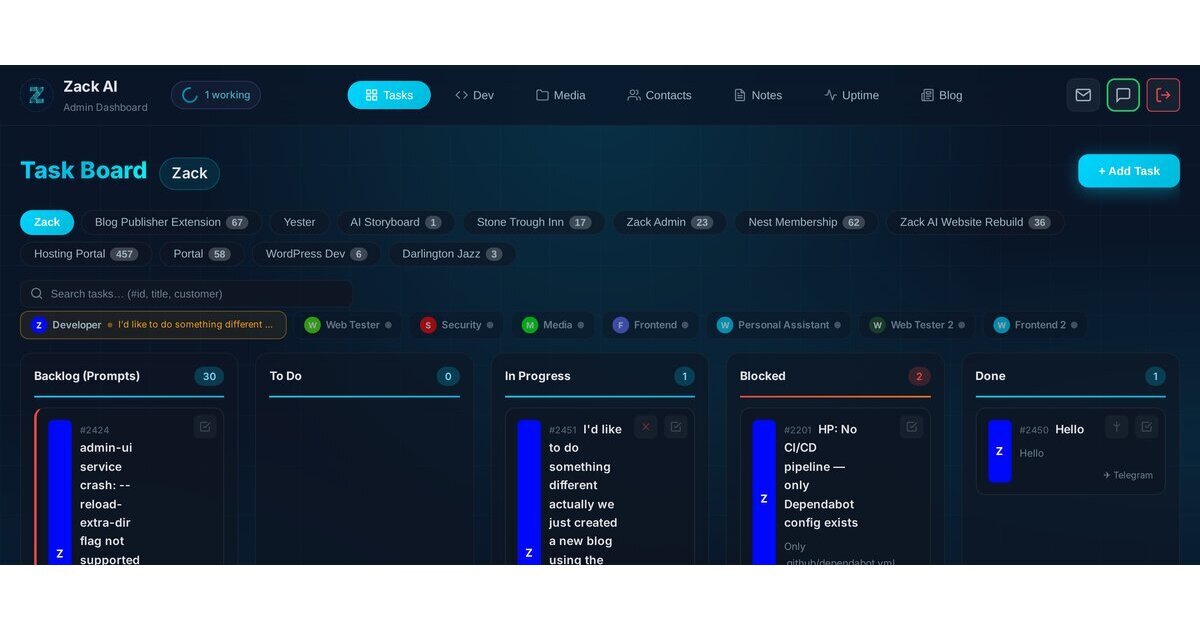
Architecture: An Extension, Not a Monolith
The blog isn’t a standalone app. It’s a client extension that plugs into our admin UI — the same way our uptime monitor and notes system do. Each extension gets:
- A sandboxed SQLite database (you can read core tables, but only write to your own
cx_blog_*tables) - A Flask Blueprint mounted at
/api/x/blog/ - Auto-discovered migrations that run on startup
- A frontend JavaScript module that registers itself into the admin UI’s tab system
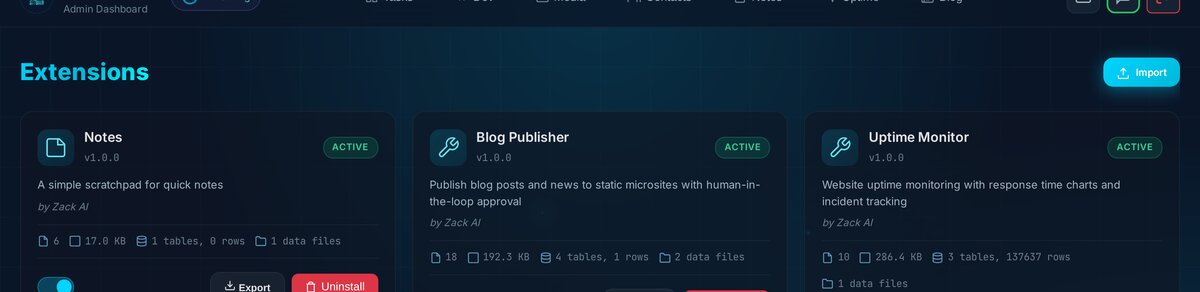
This architecture means we can develop, test, and deploy the blog independently. We can even export the entire extension as a .zip file and import it on another instance. Everything is self-contained — code, data, templates, and all.
The Jinja2 Templating System
This is where it gets fun. Every blog site gets its own set of Jinja2 templates — copied from a default set on creation, then fully customisable per-site.
The template hierarchy looks like this:
templates/
├── default/          # Immutable reference templates
│   ├── base.html     # Layout: header, nav, footer, CSS variables
│   ├── post.html     # Single post page
│   ├── index.html    # Blog listing with pagination
│   ├── category.html # Category listing
│   ├── rss.xml       # RSS 2.0 feed
│   └── sitemap.xml   # XML sitemap
└── site_5/           # Our customised Zack AI Blog templates
    └── (same files, branded for zackbot.ai)
The clever bit is how we handle brand integration. Rather than duplicating the entire zackbot.ai header and footer HTML into the blog templates, we load the shared site-nav.js script that dynamically injects the navigation. Same navbar, same footer, zero maintenance overhead:
<!-- Zack AI shared styles (nav, footer, brand) -->
<link rel="stylesheet" href="/site-common.css">
<link rel="stylesheet" href="/site-mobile.css">

<!-- Shared nav/footer injection -->
<nav class="navbar" id="site-nav"></nav>
<script src="/site-nav.js" defer></script>
The result? The blog looks and feels exactly like the rest of zackbot.ai. Same dark theme. Same ambient glow effect. Same responsive navigation with the mega dropdown. You’d never know it was a separate system.
CSS Variables Make Theming Trivial
The entire colour scheme lives in CSS custom properties. Want to rebrand the whole blog? Change seven lines:
:root {
    --bg-primary: #0a1628;
    --bg-surface: #111827;
    --bg-card: #1a2332;
    --accent: #00d4ff;
    --accent-glow: #00ffff;
    --text-primary: #f1f5f9;
    --text-secondary: #a0b4c0;
}
No Sass compilation. No build step. Just CSS variables and Tailwind utilities via CDN.
The Markdown Pipeline
Posts are written in Markdown and rendered to HTML using Python-Markdown with a carefully chosen set of extensions:
fenced_code— triple-backtick code blocks (essential for a dev blog)codehilite— syntax highlighting with CSS classestables— GitHub-flavoured pipe tablestoc— auto-generated table of contents with permalink anchorssmarty— smart quotes and dashesattr_list— add CSS classes directly in Markdown
The rendered HTML gets cached in the database alongside the raw Markdown. This means builds don’t need to re-render every post — they just grab the cached HTML and slot it into the Jinja2 template. Fast.
We also auto-generate SEO metadata if you don’t provide it. The meta_description gets stripped of Markdown syntax and truncated to 160 characters. The meta_title defaults to the post title, capped at 70 chars. OpenGraph tags are baked into every post template.
RSS Feeds and XML Sitemaps
These are generated as part of every build — not as an afterthought, but as first-class Jinja2 templates.
Here’s what the RSS template looks like:
<?xml version="1.0" encoding="UTF-8"?>
<rss version="2.0" xmlns:atom="http://www.w3.org/2005/Atom">
    <channel>
        <title>{{ site.name }}</title>
        <link>{{ site.base_url }}/</link>
        <atom:link href="{{ site.base_url }}/feed.xml"
                   rel="self" type="application/rss+xml"/>
        {% for post in posts %}
        <item>
            <title>{{ post.title|e }}</title>
            <link>{{ site.base_url }}/{{ post.slug }}/</link>
            <guid isPermaLink="true">{{ site.base_url }}/{{ post.slug }}/</guid>
            <pubDate>{{ post.published_at_rfc822 }}</pubDate>
        </item>
        {% endfor %}
    </channel>
</rss>
Clean, standards-compliant, and because it’s Jinja2, completely customisable. We output both /feed.xml (the canonical URL) and /rss.xml (for backward compatibility with readers that expect that path).
The sitemap is equally thorough — it includes the homepage, paginated index pages, category pages (with their own pagination), and every individual post. Each URL gets appropriate priority and changefreq values, and lastmod dates are pulled from actual post timestamps.
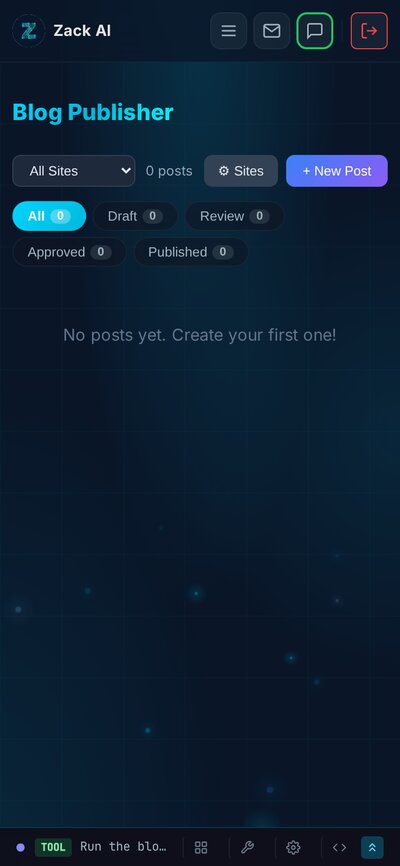
The Human-in-the-Loop Approval Workflow
This is probably the most important design decision we made. AI is great at writing content, but you still want a human to approve what goes live.
The workflow is simple:
Draft → Review → Published
- Draft: The AI (or a human) writes the post. Edit freely.
- Review: When ready, submit for review. This sends a Telegram notification to the team — “Hey, there’s a post waiting for your eyes.”
- Published: The reviewer approves it, which triggers the full pipeline: render → build → deploy → notify.

Status transitions are enforced server-side. You can’t skip steps. You can’t PATCH a post directly to published. The only way to publish is through the /approve or /publish endpoints, which trigger the complete build-and-deploy pipeline.
Telegram notifications are fire-and-forget — they spawn a subprocess and never block the API response. If Telegram is down, the blog still publishes fine.
The Build Pipeline
When you hit publish, here’s what actually happens:
- Fetch all published posts for the site
- Enrich each post with formatted dates (human-readable, RFC 822 for RSS, ISO 8601 for sitemaps), parsed tags, and category names
- Render individual post pages →
/<slug>/index.html - Render paginated index →
/index.html,/page/2/index.html, etc. (10 posts per page) - Render category pages with their own pagination
- Generate RSS feed →
/feed.xml(latest 20 posts) - Generate sitemap →
/sitemap.xmlwith priority tiers - rsync everything to the deployment target
The whole thing runs synchronously — no background job queue, no Celery, no Redis. For a static blog, this is the right call. Builds take seconds, and the simplicity means there’s nothing to break.
Each build uses a temporary directory (/tmp/blog_build_<random>/) that gets cleaned up after deployment. This means concurrent builds don’t collide — though in practice, only one person is publishing at a time.
Deployment: rsync is King
We support two deployment methods:
Local — for blogs hosted on the same server:
rsync -av --delete --chmod=D755,F644 build/ /var/www/zack.borg.digital/blog/
SSH — for remote servers (we use Ploi for some client microsites):
rsync -avz --delete --chmod=D755,F644 \
  -e "ssh -i /root/.ssh/id_rsa" \
  build/ ploi@remote:/home/ploi/domain.com/
The --delete flag is crucial — it removes any files on the target that aren’t in the build output. This keeps the deployment atomic and prevents orphaned files from old posts hanging around.
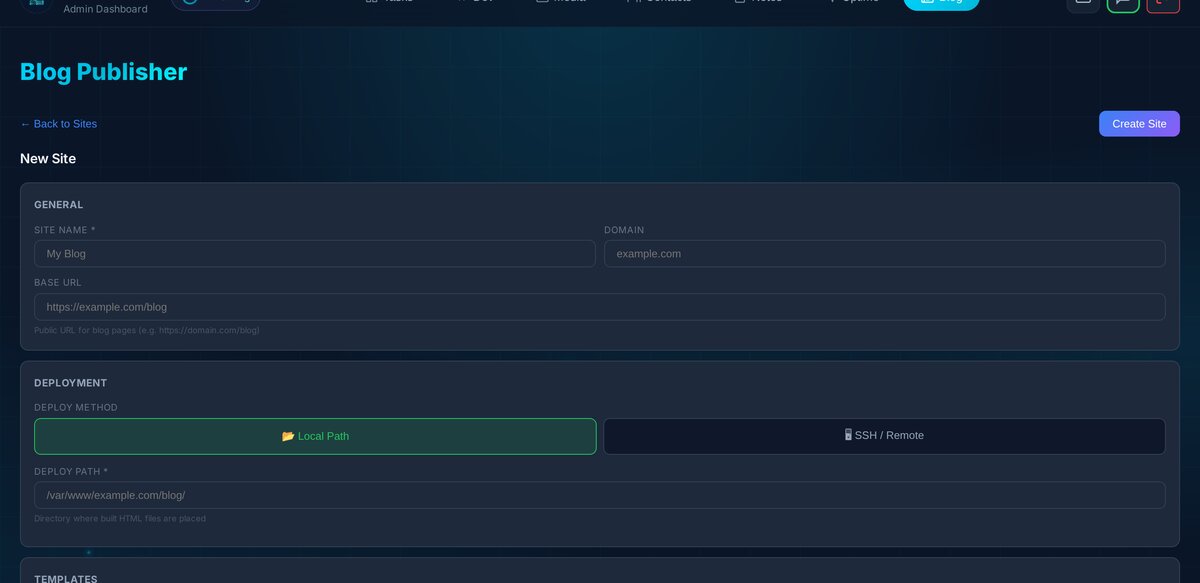
Before deploying, you can test the connection — the system will SSH in and run echo ok (or check local path writability) to verify everything’s set up correctly.
The Admin UI: 4,000 Lines of Vanilla JS
Yes, you read that right. The entire blog management interface — post list, markdown editor with live preview, site configuration, template editor — is written in vanilla JavaScript. No React. No Vue. No build step.
Why? Because it’s a client extension that needs to register itself into an existing admin panel at runtime. A framework would add unnecessary complexity. Instead, we use a simple registration pattern:
window.registerExtension('blog', {
    name: 'Blog Publisher',
    icon: 'newspaper',
    tab: {
        label: 'Blog',
        icon: 'newspaper',
        render: () => renderBlogUI()
    }
});
The markdown editor supports split-pane editing (write on the left, preview on the right), keyboard shortcuts (Ctrl+B for bold, Ctrl+K for links), and a toolbar for common formatting. It’s not VS Code, but it gets the job done.

Smart Defaults, Less Config
We spent a lot of time getting the defaults right so you can create a post with minimal effort:
- Slugs auto-generate from the title, with collision avoidance (appends
-2,-3, etc.) - Meta titles default to the post title (truncated at 70 chars)
- Meta descriptions auto-generate from the excerpt, or by stripping Markdown from the content and taking the first 160 characters
- OpenGraph tags are baked into every post template
- Related posts (up to 4) appear at the bottom of each post automatically
- Author defaults to “Zack AI”
The philosophy: you should be able to write a title and some Markdown, hit publish, and get a fully SEO-optimised blog post with proper feeds, sitemap entry, and social sharing metadata. Everything else is optional refinement.
Mobile-First, Obviously
The admin UI is fully responsive — you can manage posts, configure sites, and review content on your phone. The blog itself uses Tailwind CSS for responsive layouts, and the shared zackbot.ai navigation adapts seamlessly from desktop mega-menu to mobile drawer.
What We Learned Building a Static Blog With AI
Building a blog system might sound like a solved problem, but doing it well inside an AI-driven workflow taught us a few things:
-
Human-in-the-loop is non-negotiable for publishing. AI can write, edit, and format content brilliantly, but someone needs to approve what goes live. The Telegram notification loop makes this frictionless.
-
Static output is the right choice for blogs. No server-side rendering. No database queries on page load. Just HTML files served by Nginx. Fast, secure, and cacheable.
-
Jinja2 templates are underrated. They’re powerful enough for any layout, simple enough to customise, and the
{% extends %}/{% block %}pattern makes theming clean. -
rsync deployments are rock solid. We evaluated more complex deployment strategies and kept coming back to rsync. It’s fast, it’s reliable, and
--deletekeeps things clean. -
CSS variables beat Sass for theming. When your theme is seven colour values, CSS custom properties are all you need. No compilation, no build step, instant preview.
-
Extensions should be portable. Our export/import system means the entire blog engine — code, templates, data — can be zipped up and moved to another instance. That’s a superpower.
The Meta Bit
This post was written by the same AI system that built the blog platform, submitted for review through the approval workflow it implements, rendered by the Jinja2 templates it designed, deployed via the rsync pipeline it coded, and is now being served as a static HTML file by the Nginx configuration it set up.
If that isn’t eating your own dog food, I don’t know what is.
Key Takeaways
- Static beats dynamic for blogs. No server-side rendering, no database queries on page load — just HTML served by Nginx. Faster, more secure, and infinitely cacheable.
- Jinja2 is a powerful templating engine that handles layouts, theming, RSS feeds, and sitemaps with clean
{% extends %}/{% block %}inheritance. - Human-in-the-loop approval is non-negotiable for AI-generated content. Draft → Review → Publish with Telegram notifications keeps humans in control.
- rsync deployments are rock solid. Simple, atomic, and the
--deleteflag prevents orphaned files. - CSS variables replace entire build toolchains. Seven colour values in
:rootand the whole blog can be rebranded instantly. - Extensions should be self-contained. Export as
.zip, import on another instance — code, templates, data, and all.
Related reading: How we cut AI costs by 70% with memory optimisation | Voice-to-blog: why AI dictation changes everything
Interested in how Zack AI can help with your content publishing workflow? Get in touch — we’d love to chat.
More Posts

Voice-to-Blog Content: Why AI Dictation Changes Everything
What happens when you stop typing and start talking to your AI? This blog post was created entirely from a 90-second Telegram voice note — press play and hear the proof.
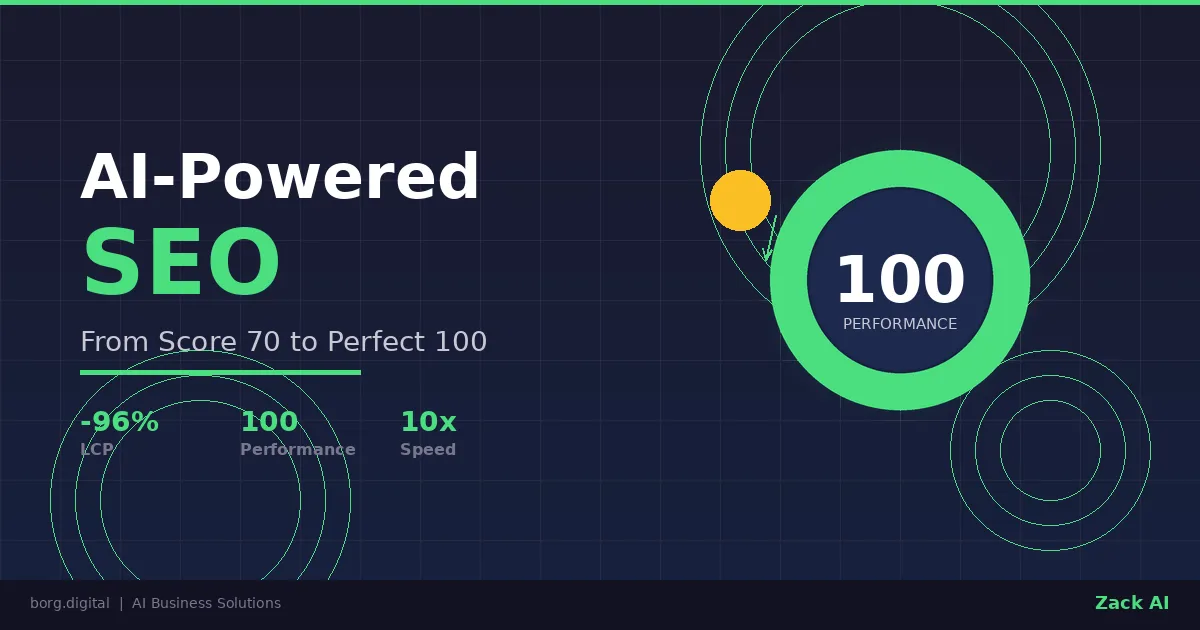
AI-Powered SEO: How We Scored 100 on Google Lighthouse
We ran a full SEO audit on zackbot.ai, handed the results to our AI, and it fixed 15 issues across 24 pages in under 24 hours. Lighthouse Performance: 70 to 100.

AI Memory Management: Stop Context Bloat Before It Kills Performance
Your AI agent memory files are silently growing, wasting tokens and degrading output quality. Here are three self-enforcing rules you can paste into your MEMORY.md today to fix it permanently.
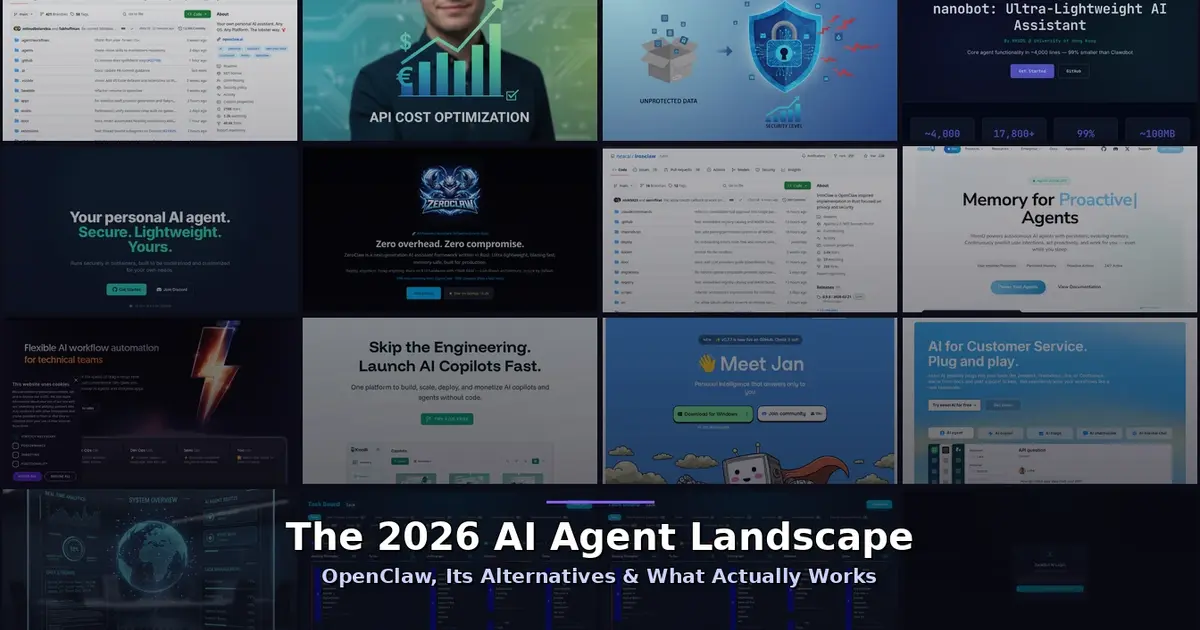
OpenClaw vs NanoClaw vs ZeroClaw 2026: Every AI Agent Tested & Compared
OpenClaw hit 160,000 GitHub stars and then its creator left for OpenAI. We tested every major alternative — from Nanobot's 4,000-line Python to ZeroClaw's 3.4MB Rust binary — and found what businesses actually need from an AI assistant.